Nexus 설치 using docker
Sonartype Nexus on Docker
Centos7 기반 Docker Engine을 설치합니다.
성
Step 1: docker-compose 파일 작성
nexus container 의 데이터를 저장할 폴더를 생성합니다.
mkdir ./nexus-data
vi editor 로 docker-compose.yaml 파일을 아래와 같이 작성합니다.
vi docker-compose.yaml

version: '3.7'
services:
   nexus3:
      image: sonatype/nexus3
      restart: unless-stopped
      container_name: nexus3
      # privileged: true
      user: root
      volumes:
         - ./nexus-data:/nexus-data
      healthcheck:
         test: ["CMD", "nc", "-zv", "localhost", "8000" ]
         interval: 5s
         timeout: 2s
         retries: 3
      ports:
         - 8081:8081
         - 5000:5000
Step 2 : docker-compose 실행
docker-compose up 을 background 로 실행합니다.
docker-compose up -d
step 3 : nexus admin 로그인
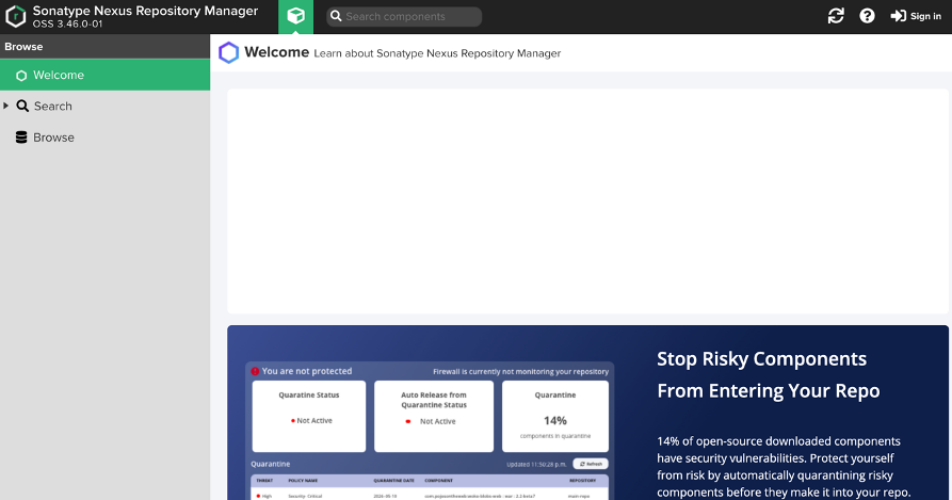
브라우저에서 nexus 8081 포트를 접속하여 오른쪽 상단위 로그인(signin) 버튼을 클릭하여 admin으로 접속합니다.
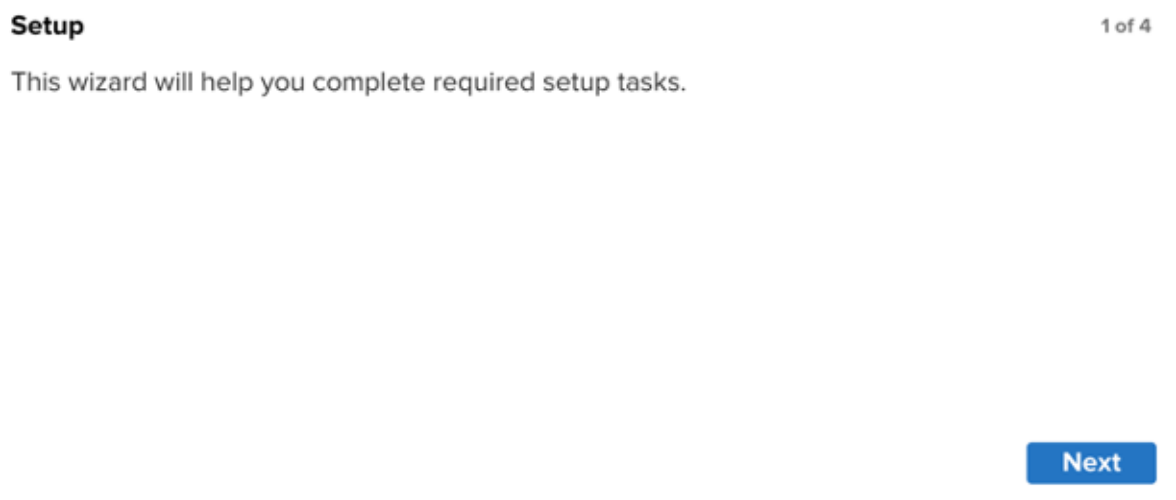
Setup 화면에서 Next 버튼을 클릭합니다.
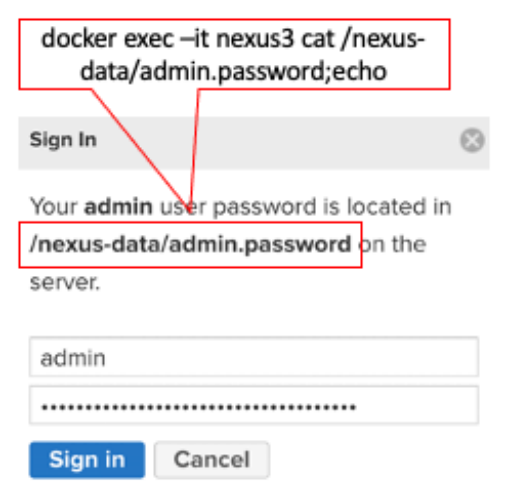
admin 사용자의 비밀번호를 입력하고, Next 버튼을 클릭합니다.
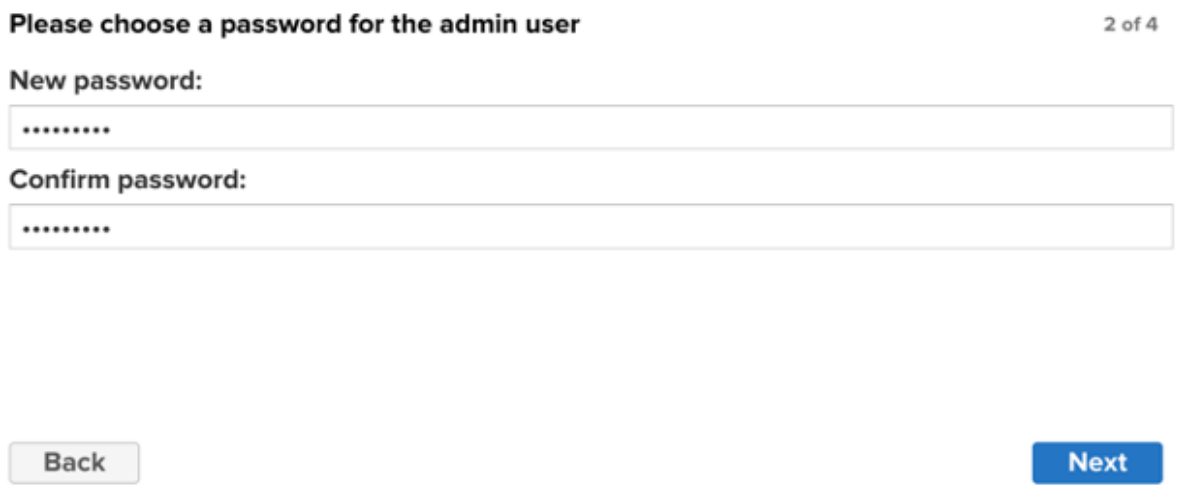
admin 사용자의 새로운 비밀번호를 입력하고, Next 버튼을 클릭합니다.
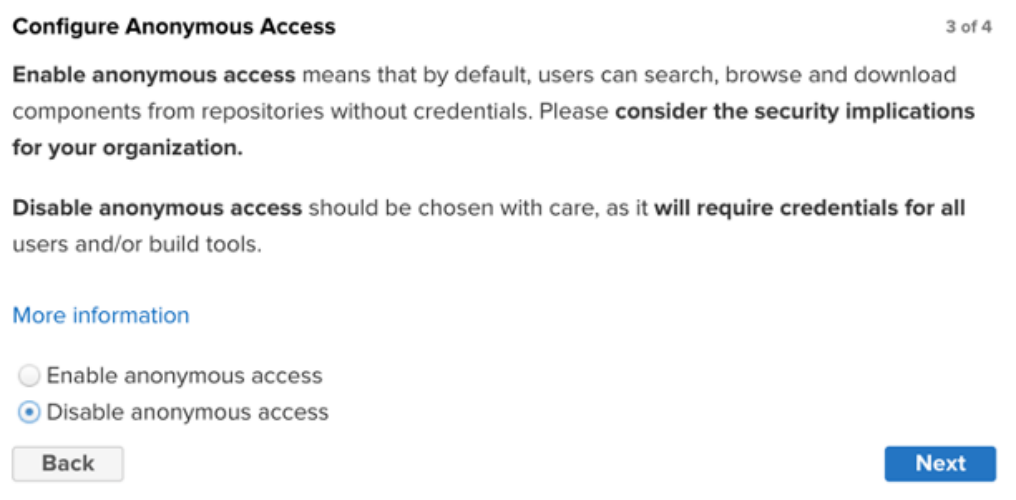
Anonymous 접근을 허용하지 않기 위해 Disable anonymous access 를 선택하고, Next 버튼을 클릭합니다.
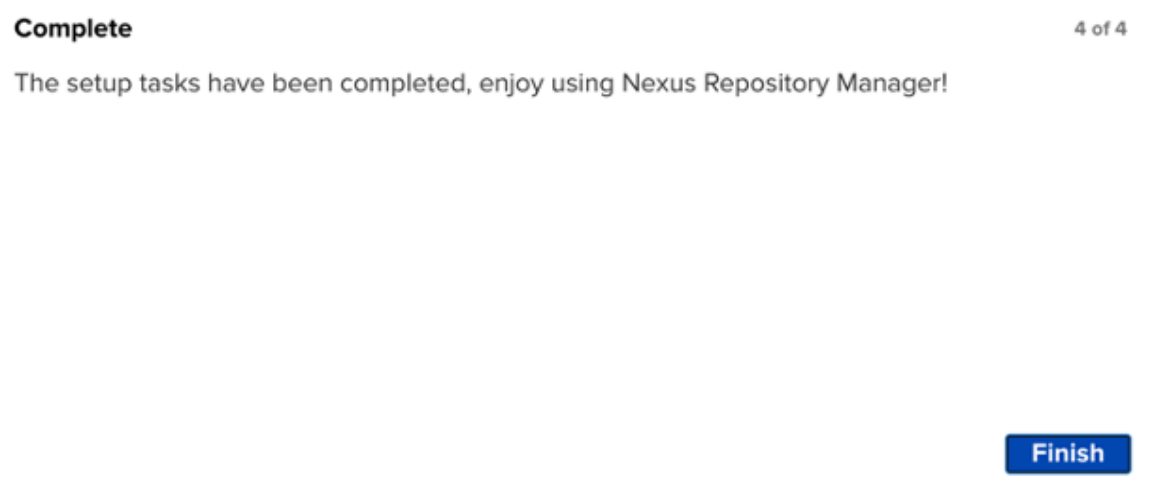
Complete 화면에서 finish 버튼을 클릭합니다.
step 4 : Create Role and User
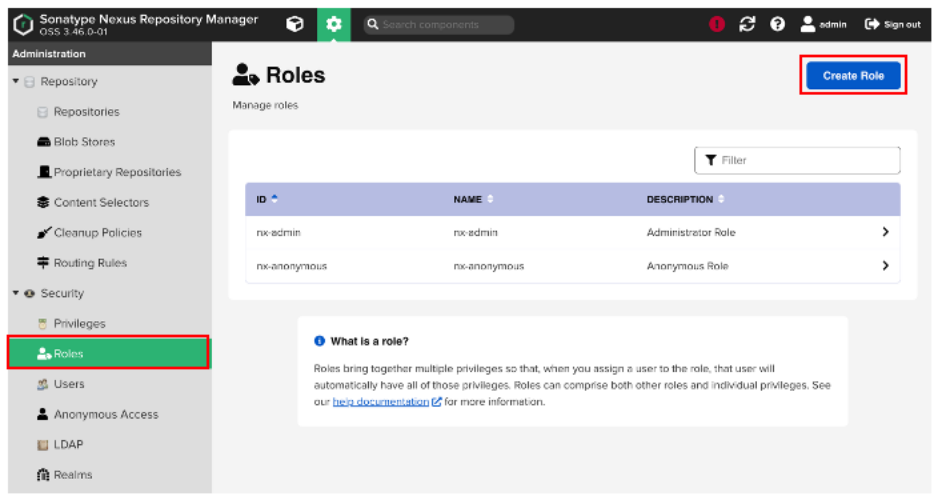
Create Role 을 클릭합니다.
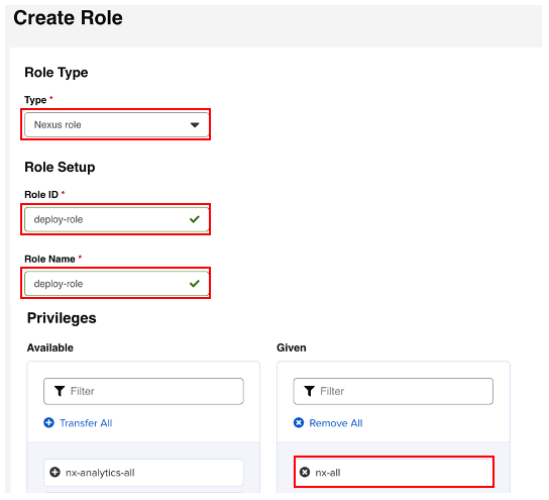
Create Role을 생성합니다.
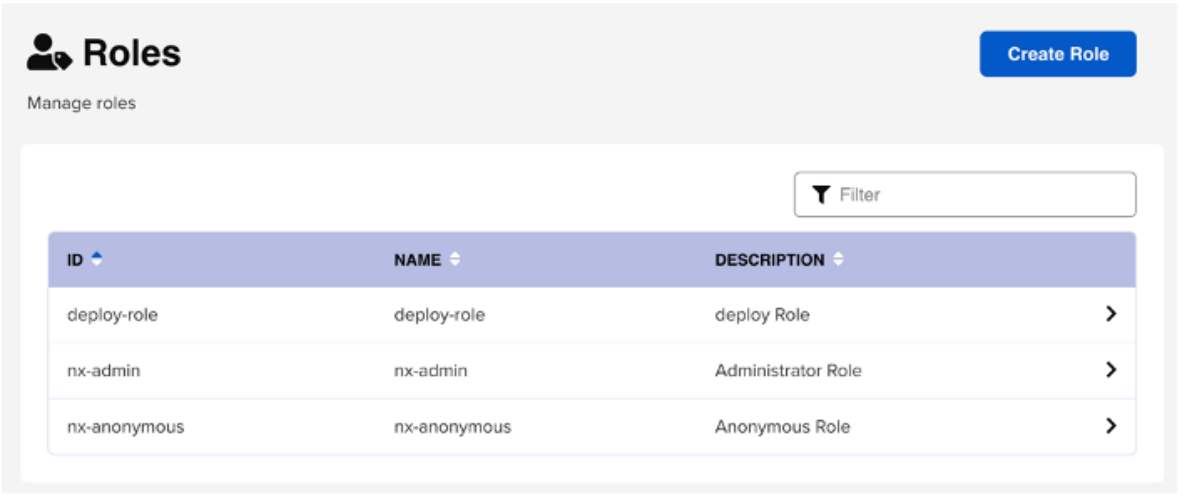
Role 생성 결과입니다.
Create Local User를 클릭하고 Create Local User를 생성합니다.
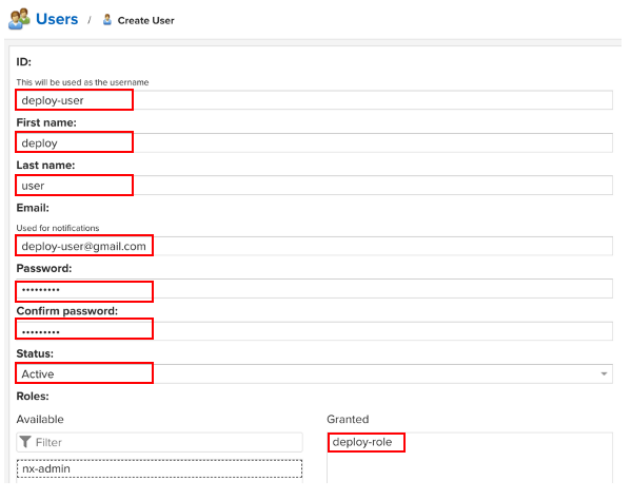
Create Local User를 생성 결과입니다.

step 4 : pom.xml 에 nexus 정보를 추가
git clone https://gitlab.com/nexweb/sample-service -b hello

cd sample-service

vi pom.xml
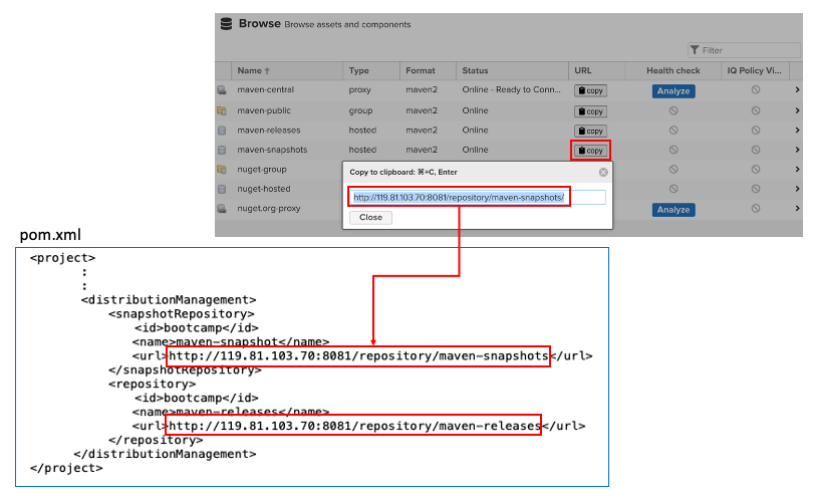
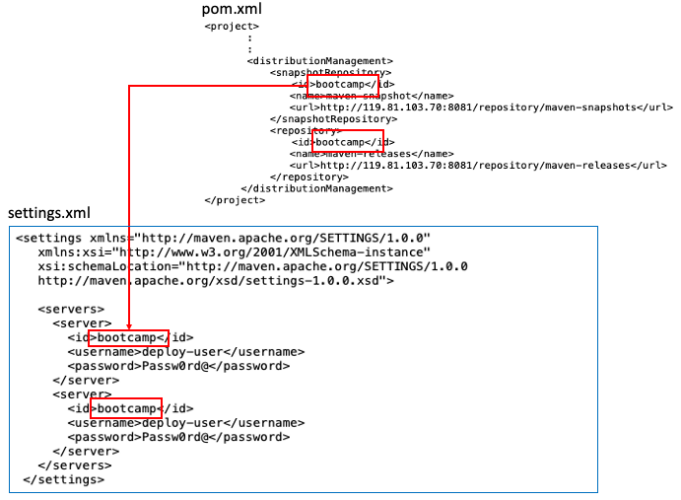
step 5 : settings.xml 에 nexus 정보를 추가
settings.xml에 nexus 정보를 추가합니다. id 값은 위의 pom.xml 파일에 있는 id값과 동일하게 설정합니다.
vi ~/.m2/settings.xml
댓글남기기